


I created a new app for everyone. In this article, I will write about how I built it and what you can use it for.
"Markdown Preview"
If you're not interested in the development process, you can skip the rest of the article and visit the app: md-preview.vercel.app. Enjoy.
Table of Contents
The idea.
The idea was not really a problem, because I have a list of side-projects I want to build. So, I just picked the one I like the most. And, yes, that means I'll create more free apps for all of us.
What can you use it for?
~ As the name says, it's a markdown preview app, so you can easily write your markdown and see the result instantly.
~ You can use it to practice writing markdown itself because I provided the most used syntax as a starting point.
~ The app itself is an OSS project, so you can check the code and maybe learn something new.
~ It is a Progressive Web Application, so you can use this repo as a starting point for your own project.
~ As noted in the previous point, "Markdown Preview" is a PWA, so if you're using a similar tool already, consider using this one, because you can use it offline too.
~ You're writing your README files in your IDE, but then you don't like how it looks like on GitHub? No worries, you can use this app instead, because it has the same styling as GitHub(syntax highlighting too).
Development process
I decided to use a Nuxt.js, because it fits well for the needs of this project. I needed SSG, PWA, SEO support out-of-the-box... And, I really like it. 😊
Steps:
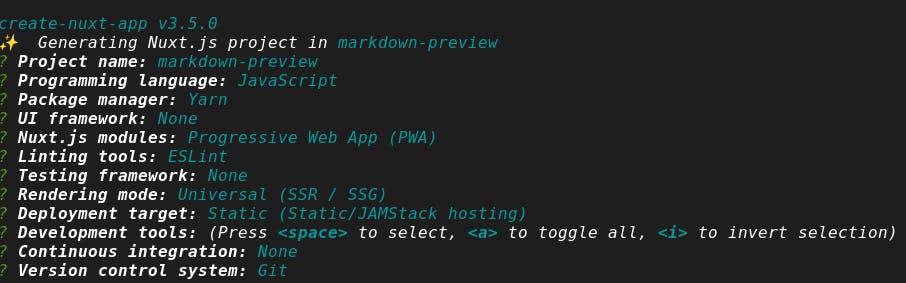
1 . I initialized a Nuxt project using create-nuxt-app. Make sure you have npx installed (npx is shipped by default since NPM 5.2.0) or npm v6.1 or yarn.
npx create-nuxt-app markdown-preview
It will ask you some questions (name, Nuxt options, UI framework, TypeScript, linter, testing framework, etc. I chose these options:
The next step is to navigate to the project folder and launch it:
cd markdown-preview
yarn dev
The application is now running on http://localhost:3000.
2 . I installed a normalize.css package to reset CSS:
yarn add normalize-css
and added it to the nuxt.config.js file.
  css: [
    'normalize.css/normalize.css',
  ],
3 . I'm using Less as a CSS preprocessor, so I added a less and less-loader as devDependencies
yarn add less less-loader -D
Additionally, I added one app.less file which will hold all custom styles. Normally, I choose TailwindCSS for all of my projects, but I decided to skip it this time because I have no more than 50 lines in the app.less file.
4 . I also added a codemiror package, which I will use for the editor.
yarn add codemirror
And, I will later initialize it in my .vue component like this:
import CodeMirror from 'codemirror'

this.codemirror = CodeMirror.fromTextArea(document.getElementById(this.id), {
    mode: 'markdown',
    lineNumbers: true,
    theme: 'default',
      extraKeys: {"Enter": "newlineAndIndentContinueMarkdownList"}
    });
I suggest you check this step in the code (index.vue file);
5 . I also needed a code sanitizer, and I decided you use DOMPurify:
yarn add dompurify
Later I'll use it in the code like this:
import DOMPurify from 'dompurify'
DOMPurify.sanitize(this.code)
6 . The only dependency left to install is the one that will transform our markdown code to the HTML output. For this I used the marked package:
yarn add marked
and now, I'll use it to transform markdown code to HTML:
import marked from 'marked';
DOMPurify.sanitize(marked(this.code));
7 . For styling of the code output I decided to GitHub-like CSS, and there is actually a package for this purpose.
yarn add github-markdown-css
I added it too to the nuxt.config.js:
css: [
  'github-markdown-css/github-markdown.css',
],
8 . The only thing left to do is to handle syntax highlighting of the code blocks. I found this handy NPM package highlight.js.
yarn add highlight.js
I will later use it as a callback in the marked method, like this:
return DOMPurify.sanitize(marked(this.code, {
    highlight: code => require('highlight.js').highlightAuto(code).value
  }))
9 . Added custom code. It would take too much to write all the code here, but you can find the whole codebase here: Markdown Preview Repo. Let me give you a hint, the main part of the code is in the index.vue file.
Deployment
Luckily, setting a CD on Vercel is quite straightforward. In just a few clicks you can deploy your app.
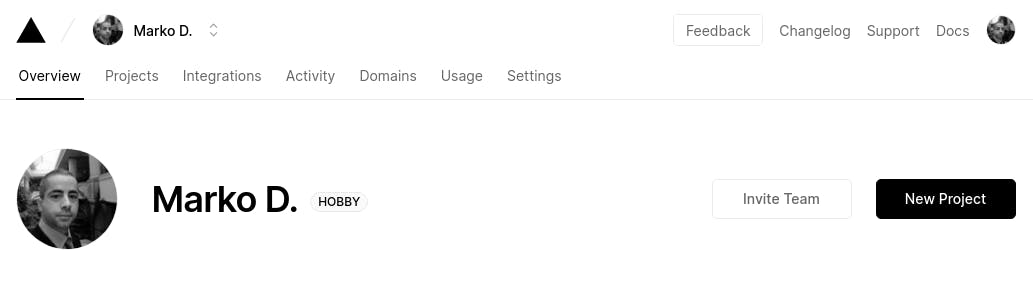
1 . Create a new project (I assumed that you already have a Vercel account, but if you don't you can create one here)
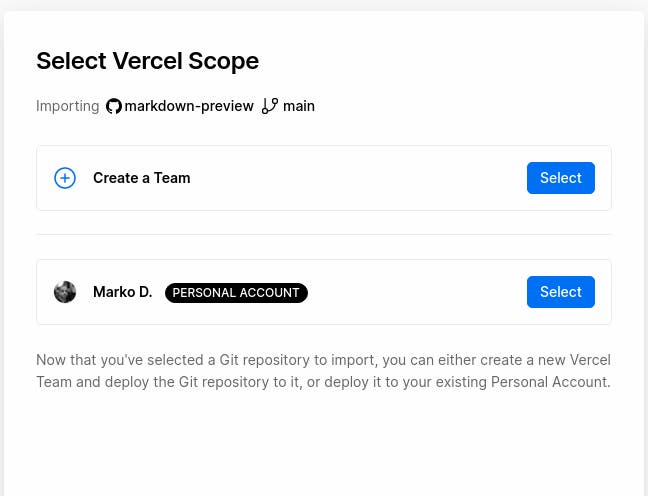
2 . Choose a repo

3 . Choose an account
4 . Deploy
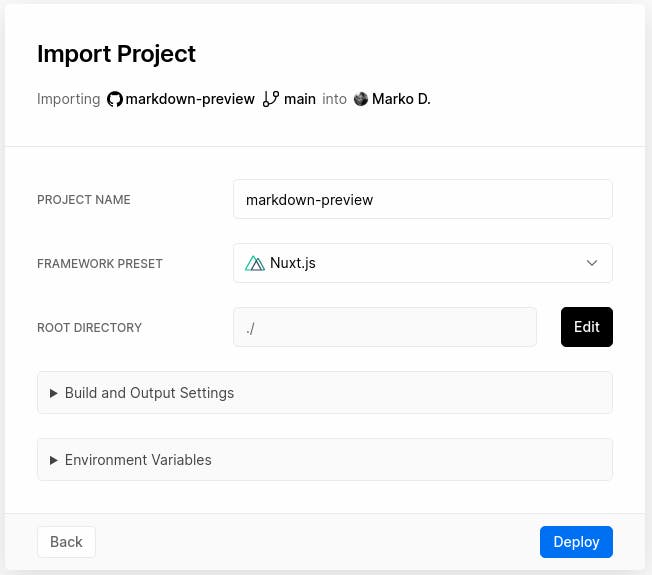
And that's it! Your app is deployed!
Project specification
| Name | "Markdown Preview" |
| Author | Marko Denic |
| Description | Provides a live-preview of the Markdown code using GitHub styling. |
| Link | md-preview.vercel.app |
| Repository | github.com/MarkoDenic/markdown-preview |
| Licence | MIT |
| Release date | 01. Feb 2021 |
| Version | 1.1.0 |
Conclusion
The project itself is very useful. I searched for similar tools, and couldn't find any of them as a PWA, also none of them had a syntax highlighting. This app uses the benefits of Service Workers, so once the app's assets are cached in the browser, every visit to this app will take only 0.187 Kb (yes, 187 bytes) of your data usage. Or simply install it on your device, and you can use it offline too.
If you want to build a PWA or an SPA of your own, I encourage you to use this project as a starting point. It covers a lot of needs out-of-the-box, like PWA module, SSG support, SEO support, ESLint, code-splitting, automatic components import. I also used a few vendor packages, so you can benefit from them too. Codemirror editor, marked package, DOMPurify and highlight.js.
If you have any questions, feel free to ask in the comments or @ me on Twitter.
This project is part of the Vercel Hashnode Hackathon
If you liked this article, be sure to ❤️ it.